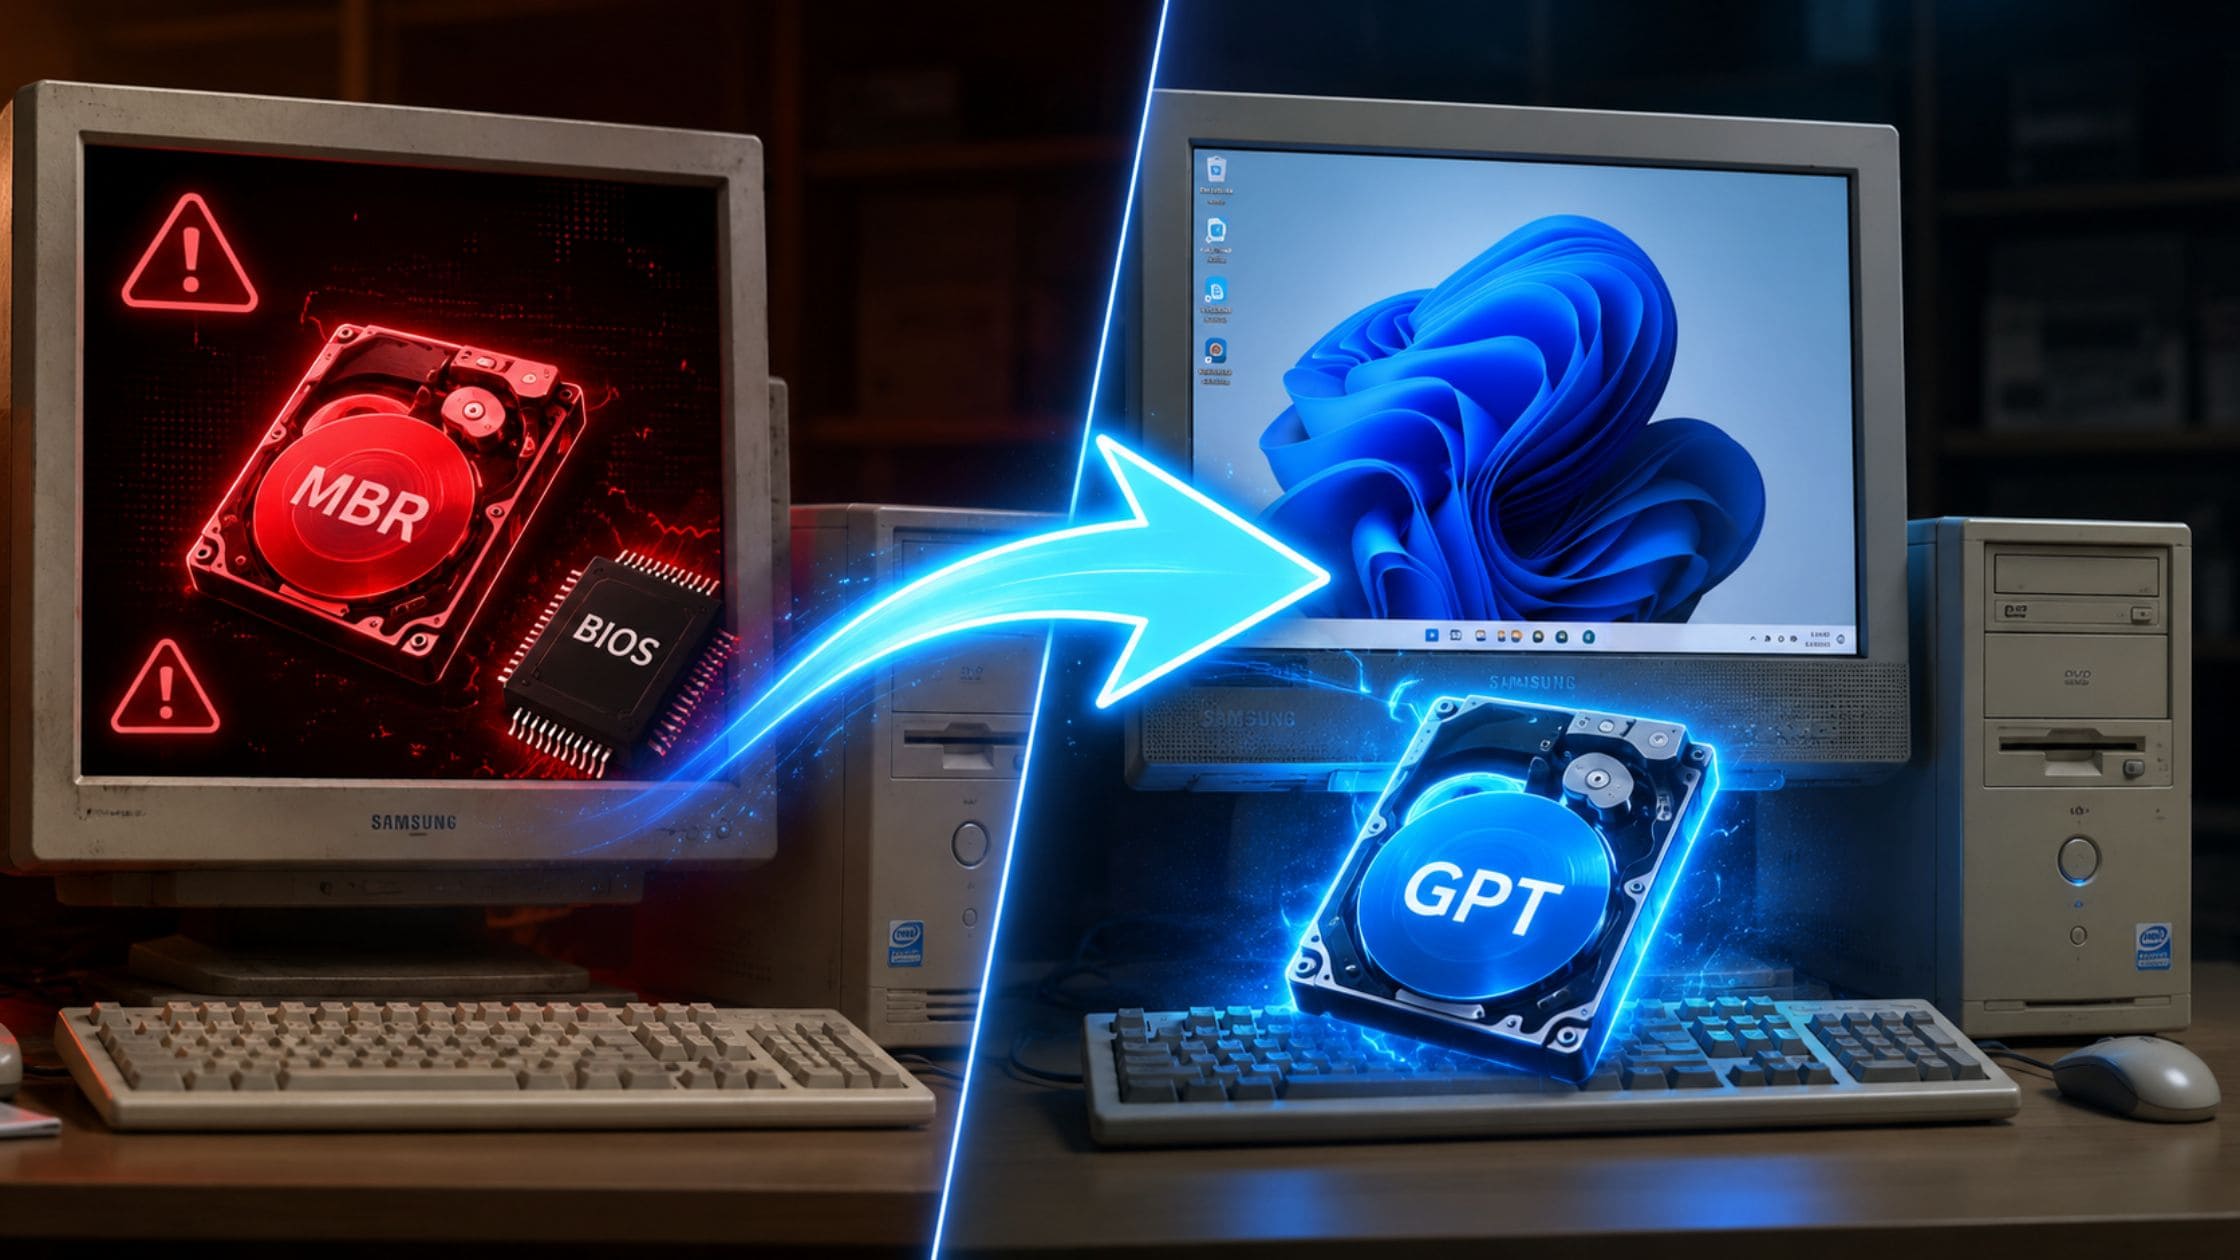
If you need to convert your system disk from MBR to GPT, you don’t necessarily need third-party software or a Windows reinstall.
Modern versions of Microsoft Windows include a built-in tool called MBR2GPT, which safely converts your disk while keeping your data intact in most cases.
This guide walks you through the full process: preparation, conversion, BIOS changes, and verification.
Why Convert MBR to GPT?
Before starting, it helps to understand why this matters.
MBR (Master Boot Record)
MBR is an older partition style with key limitations:
- Supports only up to 2TB disks
- Limited number of partitions
- Works with Legacy BIOS boot mode
GPT (GUID Partition Table)
GPT is the modern standard:
- Supports very large disks (beyond 2TB)
- Allows up to 128 partitions
- Required for UEFI boot systems
Why you might need this conversion
- Upgrading to Windows 11 (requires UEFI + GPT)
- Enabling Secure Boot
- Using large modern storage drives efficiently
- Migrating from Legacy BIOS systems
Step 1: Check Your Current Disk Type
Before doing anything, confirm your disk setup:
- Right-click Start → Open Disk Management
- Right-click your system disk (usually Disk 0)
- Go to Properties → Volumes
- Check Partition Style
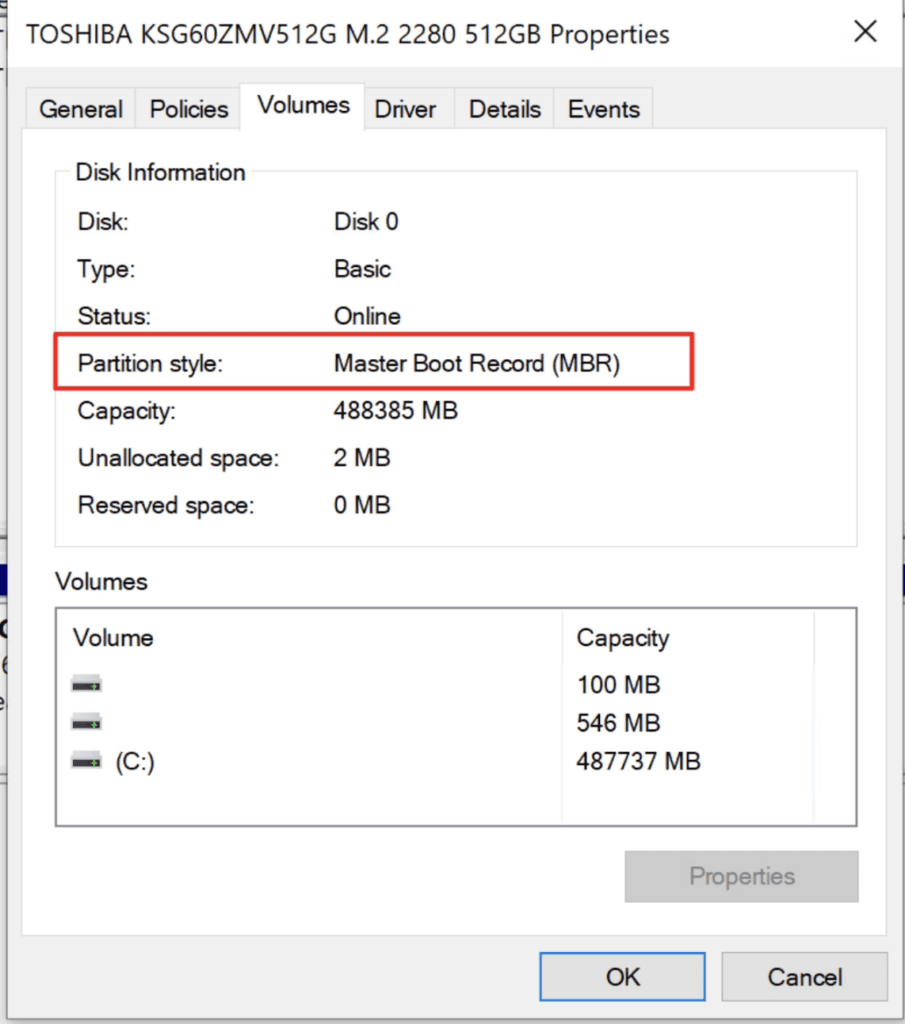
If it shows MBR, you can proceed.
If it already shows GPT, no conversion is needed.
Step 2: Prepare Before Conversion
This step is important for safety.
1. Backup your data
Even though MBR2GPT is designed to be safe, any partition operation carries risk.
2. Disable BitLocker (if enabled)
- Go to Settings → Privacy & Security → Device Encryption
- Turn it off and wait for decryption to complete
Skipping this can cause boot or access issues later.
Step 3: Open Command Prompt as Administrator
- Search CMD
- Right-click Command Prompt
- Select Run as Administrator
This is required for MBR2GPT to work.
Step 4: Validate the Disk
Run this command:
mbr2gpt /validate /disk:0 /allowFullOSWhat it does:
- Checks if your disk is compatible
- Does NOT change anything
- Confirms if conversion can succeed
If it fails, read the error carefully; it usually points to the exact issue.
Step 5: Convert MBR to GPT
If validation passes, run:
mbr2gpt /convert /disk:0 /allowFullOSWhat happens next:
- Disk structure is analyzed
- GPT layout is created
- Boot files are updated
- EFI System Partition is added
Once finished, you’ll see a message telling you to switch to UEFI mode. This is critical.
Step 6: Switch BIOS to UEFI Mode (VERY IMPORTANT)
Without this step, Windows will not boot.
Steps:
- Restart your PC
- Enter BIOS/UEFI (F2, Delete, or manufacturer key)
- Go to Boot Settings
- Change:
- Legacy / CSM → UEFI
- Save and exit (usually F10)
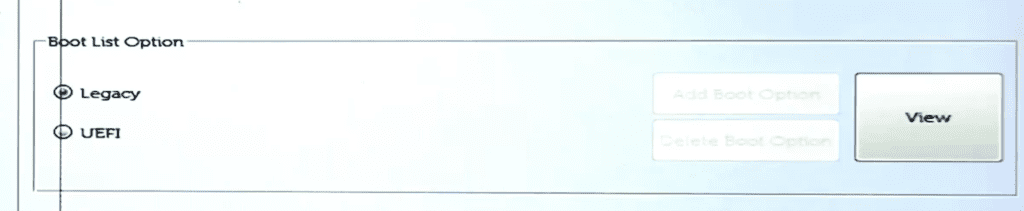
Now your system will boot using the GPT disk correctly.
Step 7: Verify Conversion Success
After Windows starts:
- Open Disk Management
- Right-click disk → Properties
- Check Volumes tab
You should now see:
Partition Style: GPT
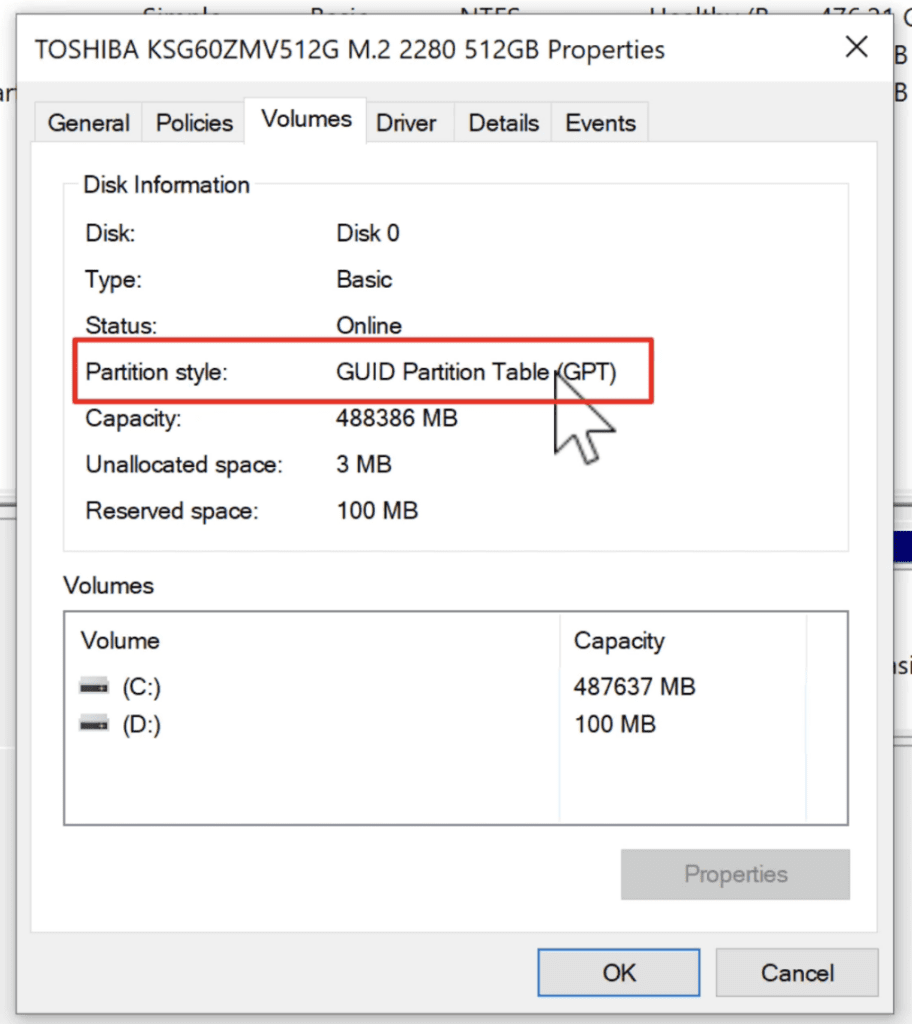
You can also confirm in File Explorer that all files are intact.
See also: How to Delete or Format Any Disk Partition on Windows Using DiskPart
Troubleshooting (If Windows Doesn’t Boot)
If the PC fails to boot:
1. Check BIOS mode
- Ensure UEFI is enabled
- Disable Legacy/CSM
2. Check Secure Boot
- Temporarily disable Secure Boot if needed
- Re-enable it after Windows loads
Most boot issues come from incorrect BIOS settings, not the conversion itself.
Conclusion
Using MBR2GPT, you can safely convert your system disk from MBR to GPT without reinstalling Windows or losing data.
The key steps are simple:
- Validate the disk
- Run the conversion
- Switch BIOS to UEFI
Once done, your system becomes compatible with modern Windows requirements and newer hardware standards.
Pingback: How to Check Hard Drive Health Using CMD and PowerShell in Windows 11 & 10
Pingback: How to Back Up Drivers and Add Them to a Windows ISO | Windows 10 & 11
Pingback: How to Use Your Laptop as a Monitor for Any PC
Pingback: File Too Large for Destination File System Error - Fix FAT32 to NTFS Without Losing Data