When you need to delete partitions from a hard drive, SSD, USB drive, or other storage device, most Windows users open Disk Management and attempt to remove the partitions manually.
The problem is that some partitions, especially System, EFI, and Recovery partitions, cannot be deleted through Disk Management. The Delete Volume option is often grayed out, leaving many users wondering what to do next.
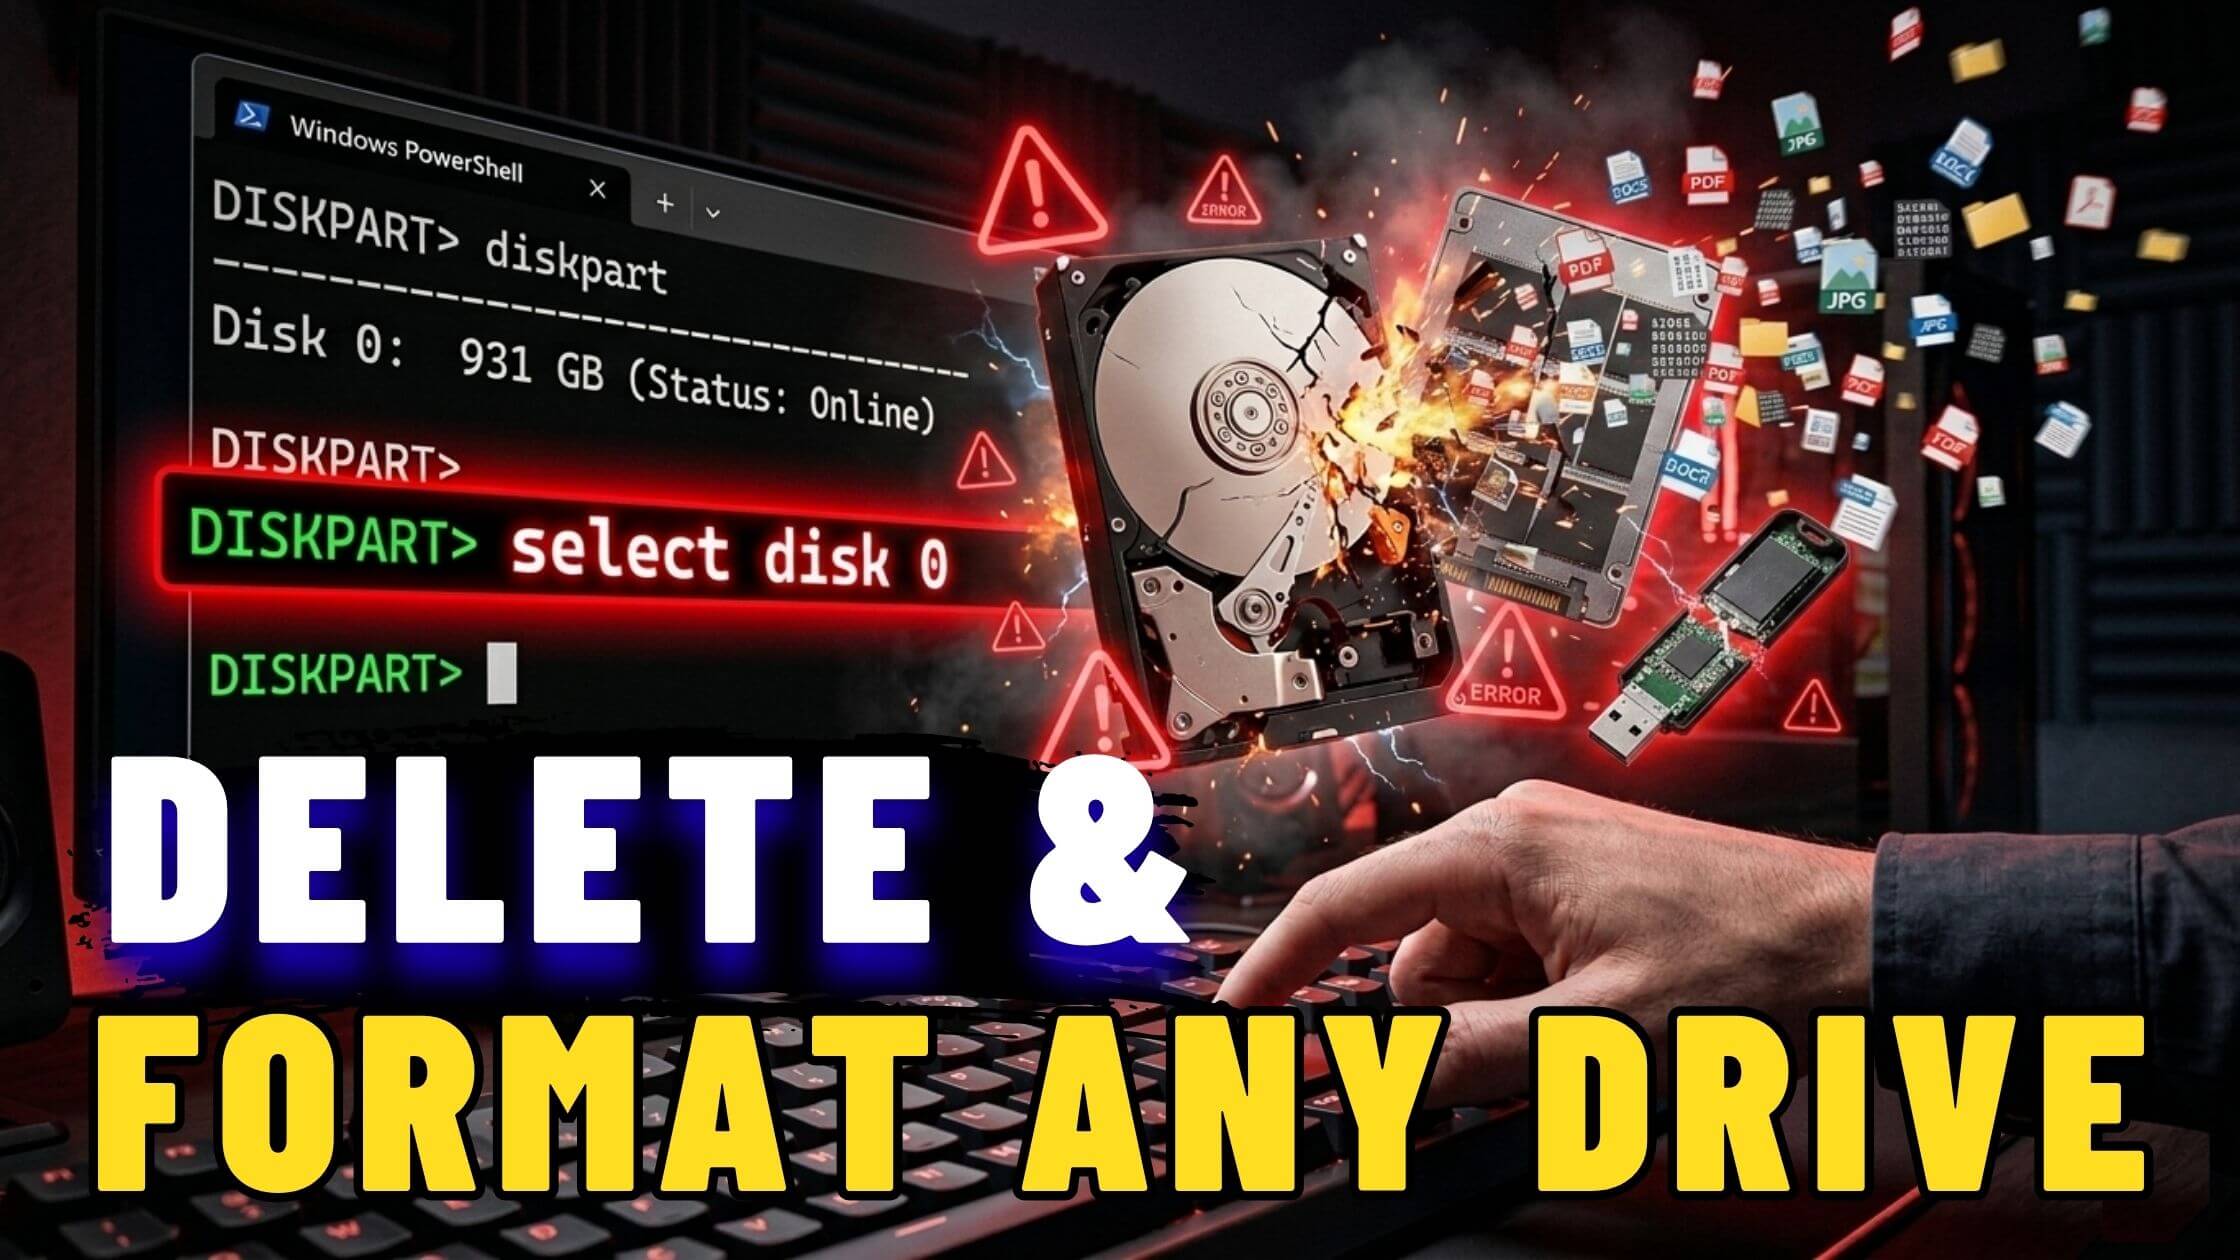
Fortunately, Windows includes a powerful built-in tool called DiskPart that gives you complete control over disks and partitions. With DiskPart, you can delete protected partitions, wipe entire drives, create new partitions, and format them with the file system of your choice.
In this guide, you’ll learn how to safely use DiskPart to delete partitions, completely wipe a drive, and create a new formatted partition.
Important Warning Before You Begin
DiskPart is a powerful tool.
Unlike Disk Management, DiskPart does not display confirmation prompts before performing destructive actions.
Commands such as:
delete partitionand
cleanExecute immediately.
There is no Undo button.
Before running any command:
- Verify the correct disk number
- Verify the disk size
- Cross-reference with Disk Management
- Double-check before pressing Enter
Taking an extra 30 seconds to verify the correct disk can prevent accidental data loss.
Step 1: Open DiskPart
Right-click the Start button and select: Terminal (Admin)
or Command Prompt (Admin)
Then launch DiskPart:
diskpartPress Enter.
The prompt changes to:
DISKPART>This confirms you’re now working inside the DiskPart environment.
Step 2: List All Connected Disks
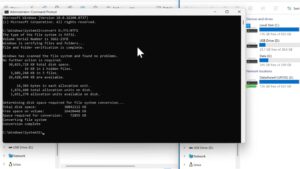
To view all storage devices connected to your computer, run:
list diskExample output:
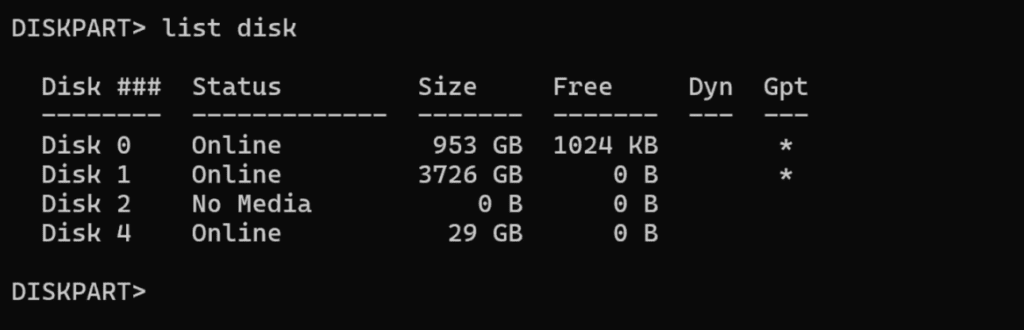
DiskPart assigns a number to every physical storage device connected to your system.
These numbers correspond to the same disk numbers shown in Disk Management.
How to Identify the Correct Disk
Always identify the disk by:
- Disk number
- Storage size
- Existing partitions
For example:
- Disk 0 = 953 GB SSD
- Disk 1 = 4 TB HDD
- Disk 4 = 29 GB USB drive
If you’re unsure, open Disk Management and compare the sizes shown there.
Never continue until you’re completely certain which disk you want to modify.
Step 3: Select the Target Disk
Once you’ve identified the correct disk:
select disk 1Replace: 1 with your actual disk number.
DiskPart will confirm: Disk 1 is now the selected disk.
Step 4: View Existing Partitions
To display all partitions on the selected disk:
list partitionExample output:
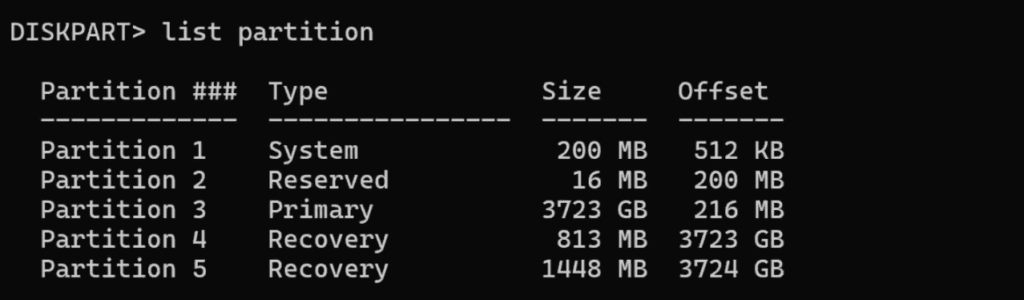
This allows you to identify exactly which partition you want to remove.
Understanding Partition Types
Primary Partition
A standard data partition.
Usually deleted without restrictions.
System Partition
Contains boot files and startup information.
Protected by Windows.
Recovery Partition
Contains recovery tools and factory restoration files.
Also protected.
These protected partitions often cannot be deleted through Disk Management.
Delete a Specific Partition
To remove a partition:
select partition 1Replace: 1 with the partition number you want to delete.
Then run:
delete partitionDiskPart immediately removes the partition.
What If the Partition Is Protected?
You may receive an error stating that the partition is protected.
This is common with:
- EFI partitions
- System partitions
- Recovery partitions
In many cases, deleting all partitions using the clean command is the simplest solution.
Verify the Partition Was Removed
Run:
list partitionagain.
The deleted partition should no longer appear.
Wipe an Entire Disk Using Clean
If your goal is to completely erase a drive, deleting partitions individually is unnecessary.
Instead, use:
cleanFirst confirm the correct disk is selected:
select disk 1Then verify:
list diskMake sure the asterisk (*) appears next to the correct disk.
Now run:
cleanDiskPart instantly removes:
- All partitions
- All volumes
- The partition table
The entire drive becomes unallocated space.
What Does the Clean Command Actually Do?
The clean command:
- Removes partition information
- Makes data inaccessible
- Returns the disk to an unallocated state
The clean command does not:
- Securely erase the data
- Overwrite every sector
Specialized recovery software may still recover information after a standard clean operation.
Clean vs Clean All
For normal drive repurposing:
cleanis sufficient.
For secure disposal before selling or donating a drive:
clean allThis command writes zeros to every sector on the disk.
Benefits:
- Makes recovery extremely difficult
- More secure for sensitive data
Downside:
- Takes significantly longer
- Large drives may require several hours
Create a New Partition
After deleting partitions or cleaning the disk, you’ll need to create a new partition before using the drive.
Run:
create partition primaryThis creates a primary partition using all available space.
Format the Partition
To format the new partition:
NTFS
format fs=ntfs quick label=NewDriveexFAT
format fs=exfat quick label=NewDriveReplace: NewDrive with any volume label you prefer.
NTFS vs exFAT
NTFS
Best for:
- Windows-only systems
- Internal drives
- Large files
- Security permissions
exFAT
Best for:
- USB drives
- External drives
- Windows and macOS compatibility
- Cross-platform file sharing
If you regularly move the drive between different operating systems, exFAT is often the better choice.
Quick Format vs Full Format
Quick Format
format fs=ntfs quickFaster.
Does not scan the drive for bad sectors.
Full Format
format fs=ntfsSlower.
Checks the disk surface for bad sectors.
Recommended for:
- Older drives
- Previously problematic drives
- Used hard disks
Assign a Drive Letter
After formatting, assign a drive letter:
assign letter=GReplace: G with any available drive letter.
The drive will immediately appear in File Explorer.
Alternative: Use Disk Management
If you prefer a graphical interface, you can stop after running:
cleanThen open Disk Management and use the New Simple Volume Wizard to create and format the partition visually.
See also: Run these 7 commands when your Internet connection stops working
Final Thoughts
DiskPart is one of the most powerful disk management tools included with Windows. It allows you to delete partitions that Disk Management cannot remove, completely wipe drives, create new partitions, and format storage devices without relying on third-party software.
Whether you’re:
- Removing a dual-boot setup
- Wiping a drive before reuse
- Preparing a disk for a new operating system
- Deleting protected partitions
DiskPart provides complete control.
Just remember the most important rule:
Always verify the correct disk before running any destructive command.
Pingback: Convert MBR to GPT Without Data Loss Using Built-in Windows Tool